Building Raspberry Pi HAB radio tracker software (part 4): OH3BHX-11-1 balloon flight
This is the fourth and the final part of a series of blog posts that follow and document my first attempt to launch a high-altitude balloon (HAB) to perform aerial photography. This post describes the final steps needed to prepare for a balloon launch and — most importantly — includes photos and videos from the balloon launch and flight on August 20, 2017.
Preface
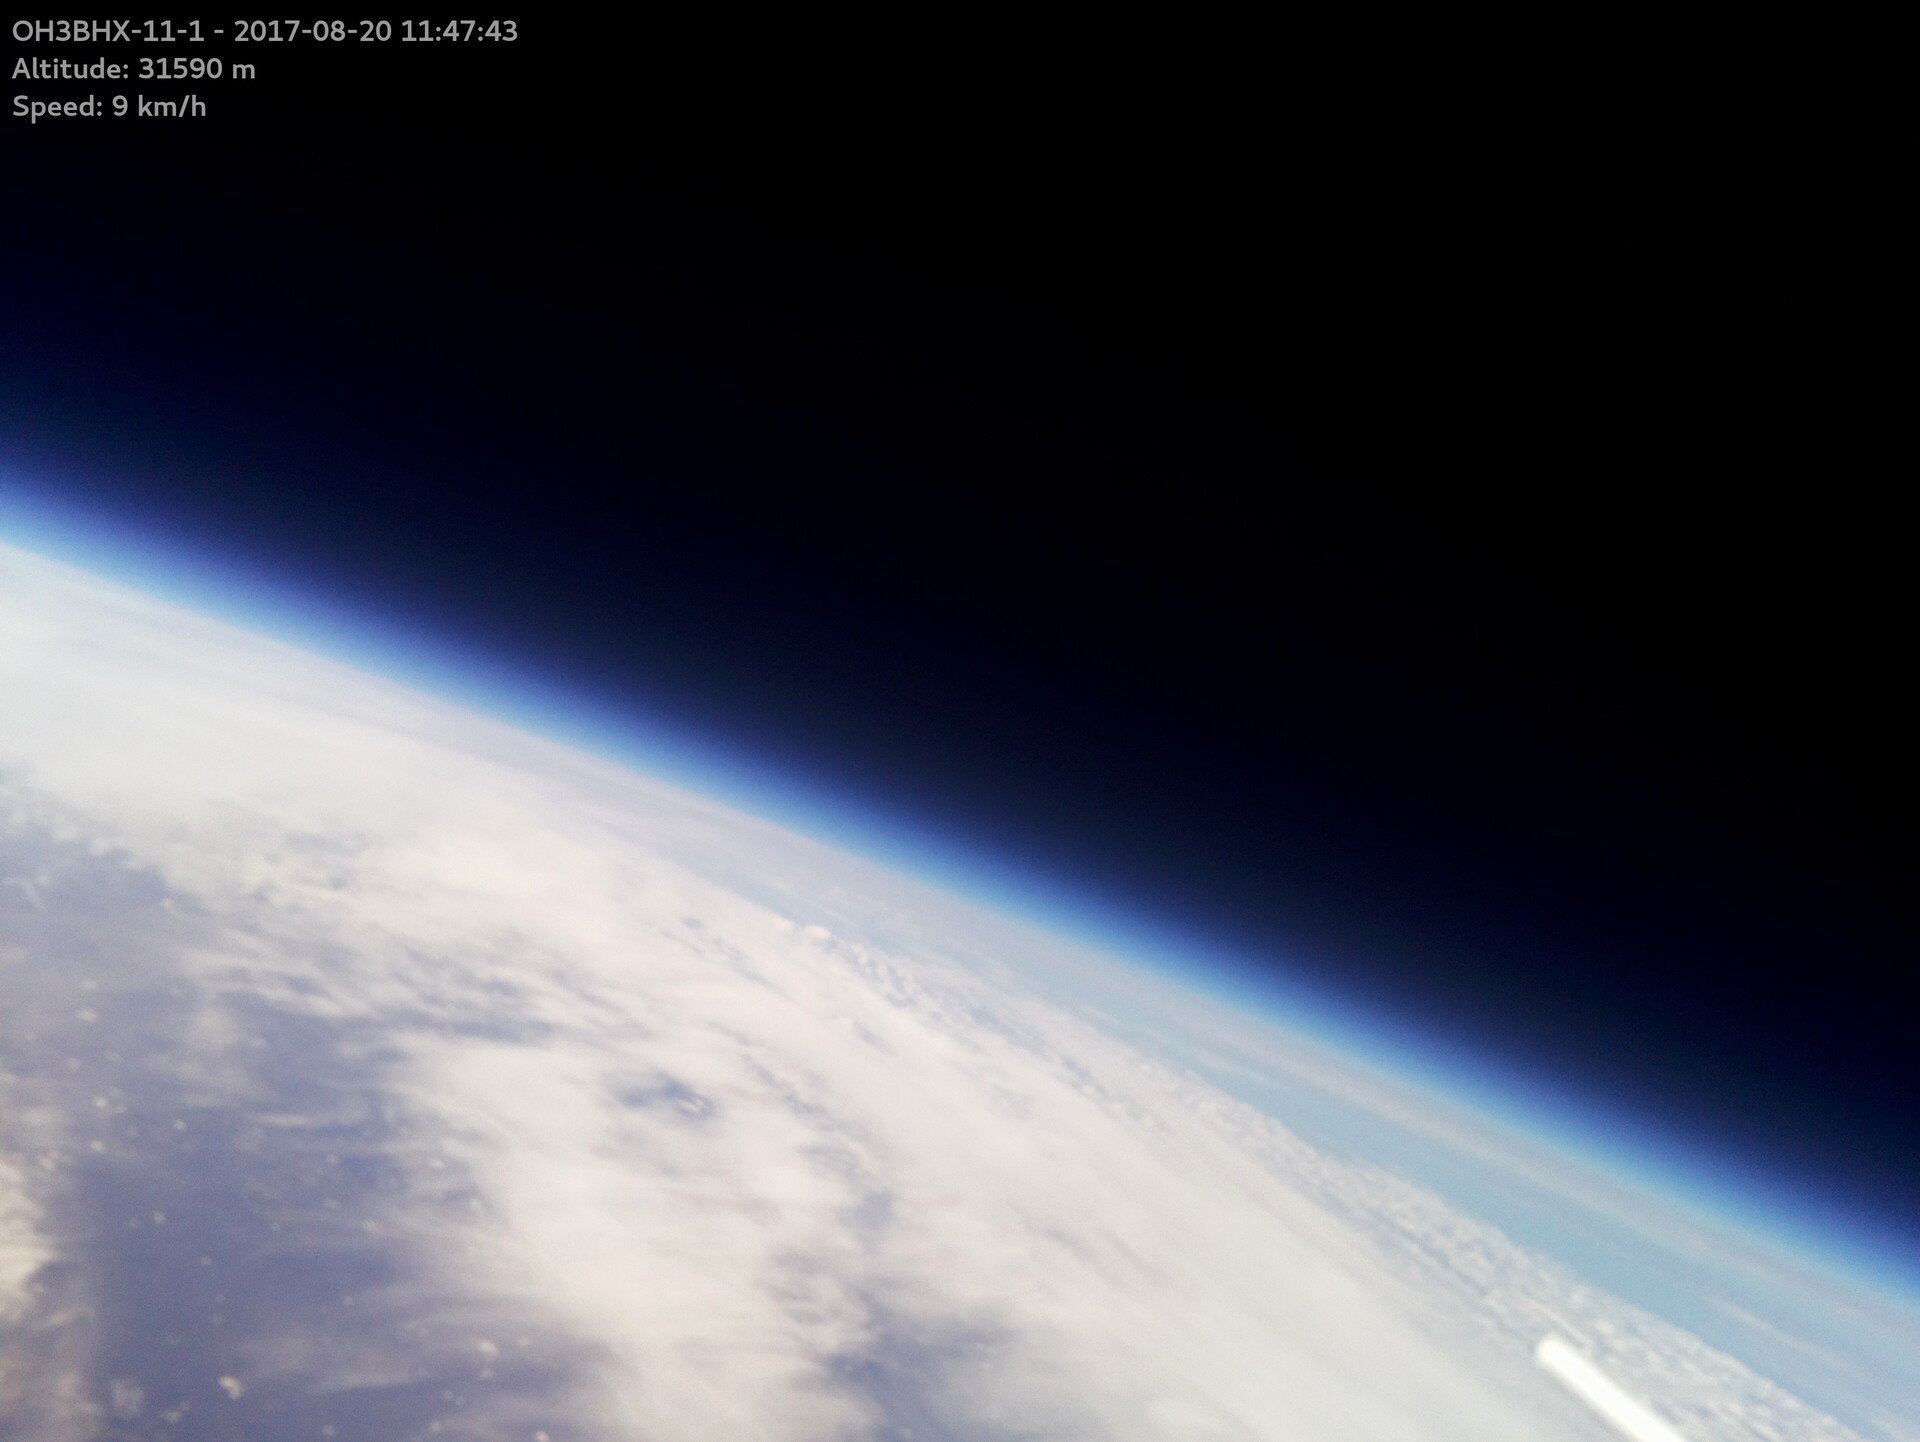
My first high-altitude balloon flight OH3BHX-11-1 on August 20th was mostly a success! The weather was nearly perfect: the sky was partly cloudy with south wind of 4 m/s, although there were occasional gusts making it a bit difficult to hold the balloon while filling it. The launch process was very smooth and went basically without problems.
However, we experienced some failures too: the LoRa receiver was able to receive only tiny bits of the transmissions sent by the balloon tracker when the balloon was over 20 kilometers away. In the end the reason for this turned out to be a mistake: I connected the car top antenna to the wrong antenna port in the device (as one of the two receiver devices has two LoRa chips). The port actually being used had a short 5 cm test antenna doing all the work and I decided not to use the second receiver device at all. Finally, the video camera, a GoPro Hero 5 Session, we had mounted in the payload box failed just before launch. I suspect it shut down because of too much heat, since the camera had been started over 30 minutes before the launch and it was exposed to direct sunlight all the time. And, of course, I did not check whether the camera was recording when I released the balloon…
Assembling the payload
The flight payload I used was a simple styrofoam box with one side open. All electronics and devices, except for the antennas, were placed inside the box to keep them warm and safe from low temperature and shocks. I made holes only for the cameras and the antenna cables and the holes were later sealed with additional duct tape to minimize chances of water getting inside the payload box in case the payload lands on water.

I fixed the circuit boards / devices inside the box using small pieces of styrofoam. The rest of the space left after placing the electronics and supporting styrofoam was filled with crumpled paper to leave no free room for the contents to move or shift during flight or landing.
The Raspberry Pi-based tracker device running ertnode was placed on a lightweight PiBow Coupé Royal case
in one of the corners of the payload box to make attaching the Raspberry Pi camera to the payload wall easy.
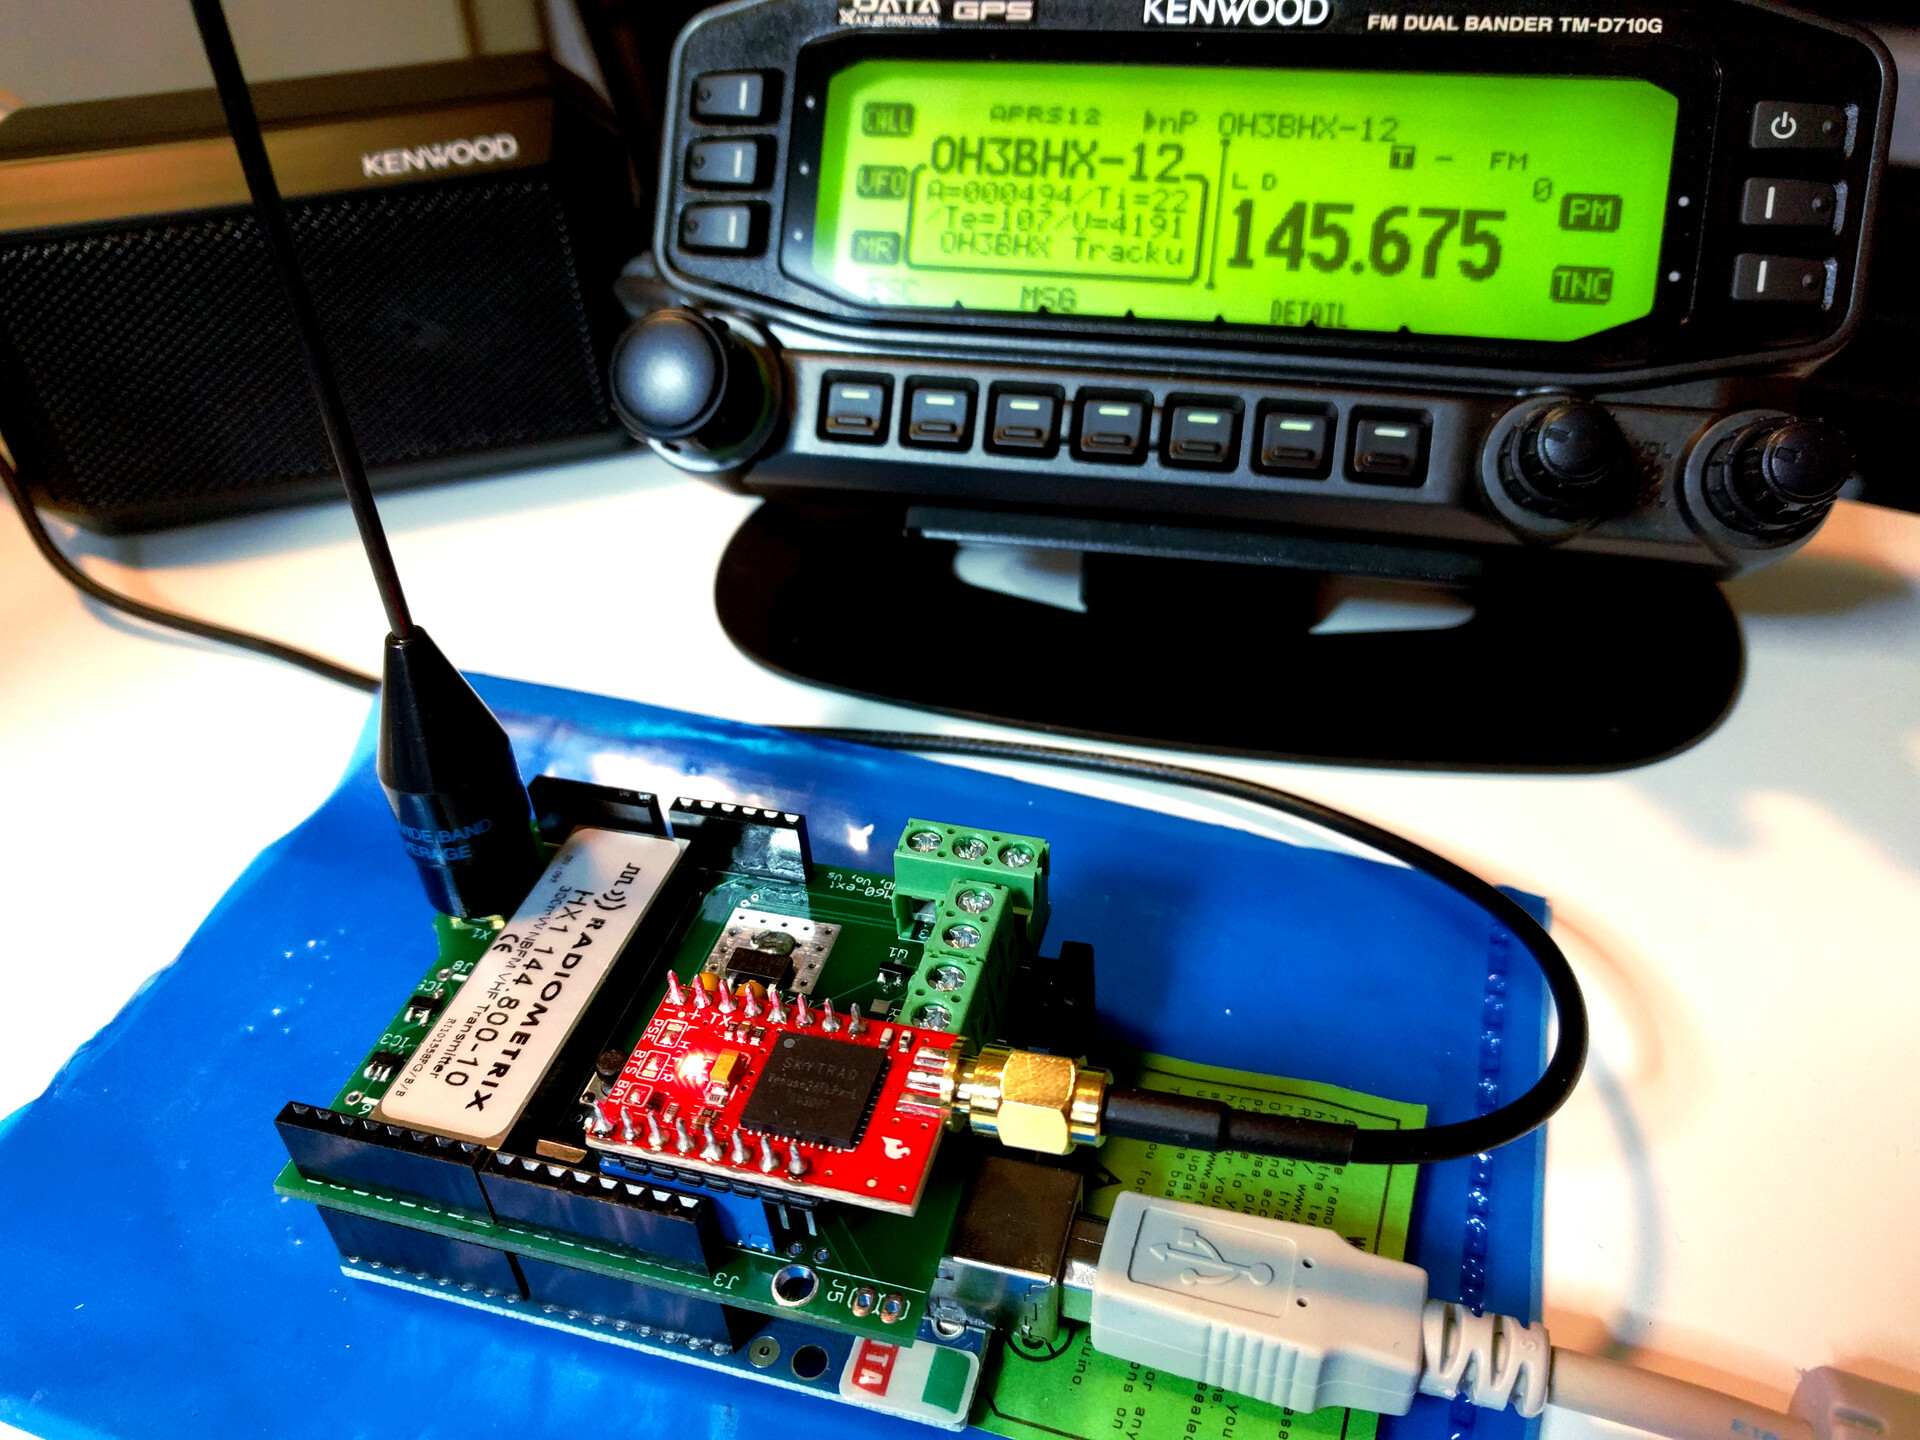
In addition to the Raspberry Pi tracker, I decided to use a backup tracker called
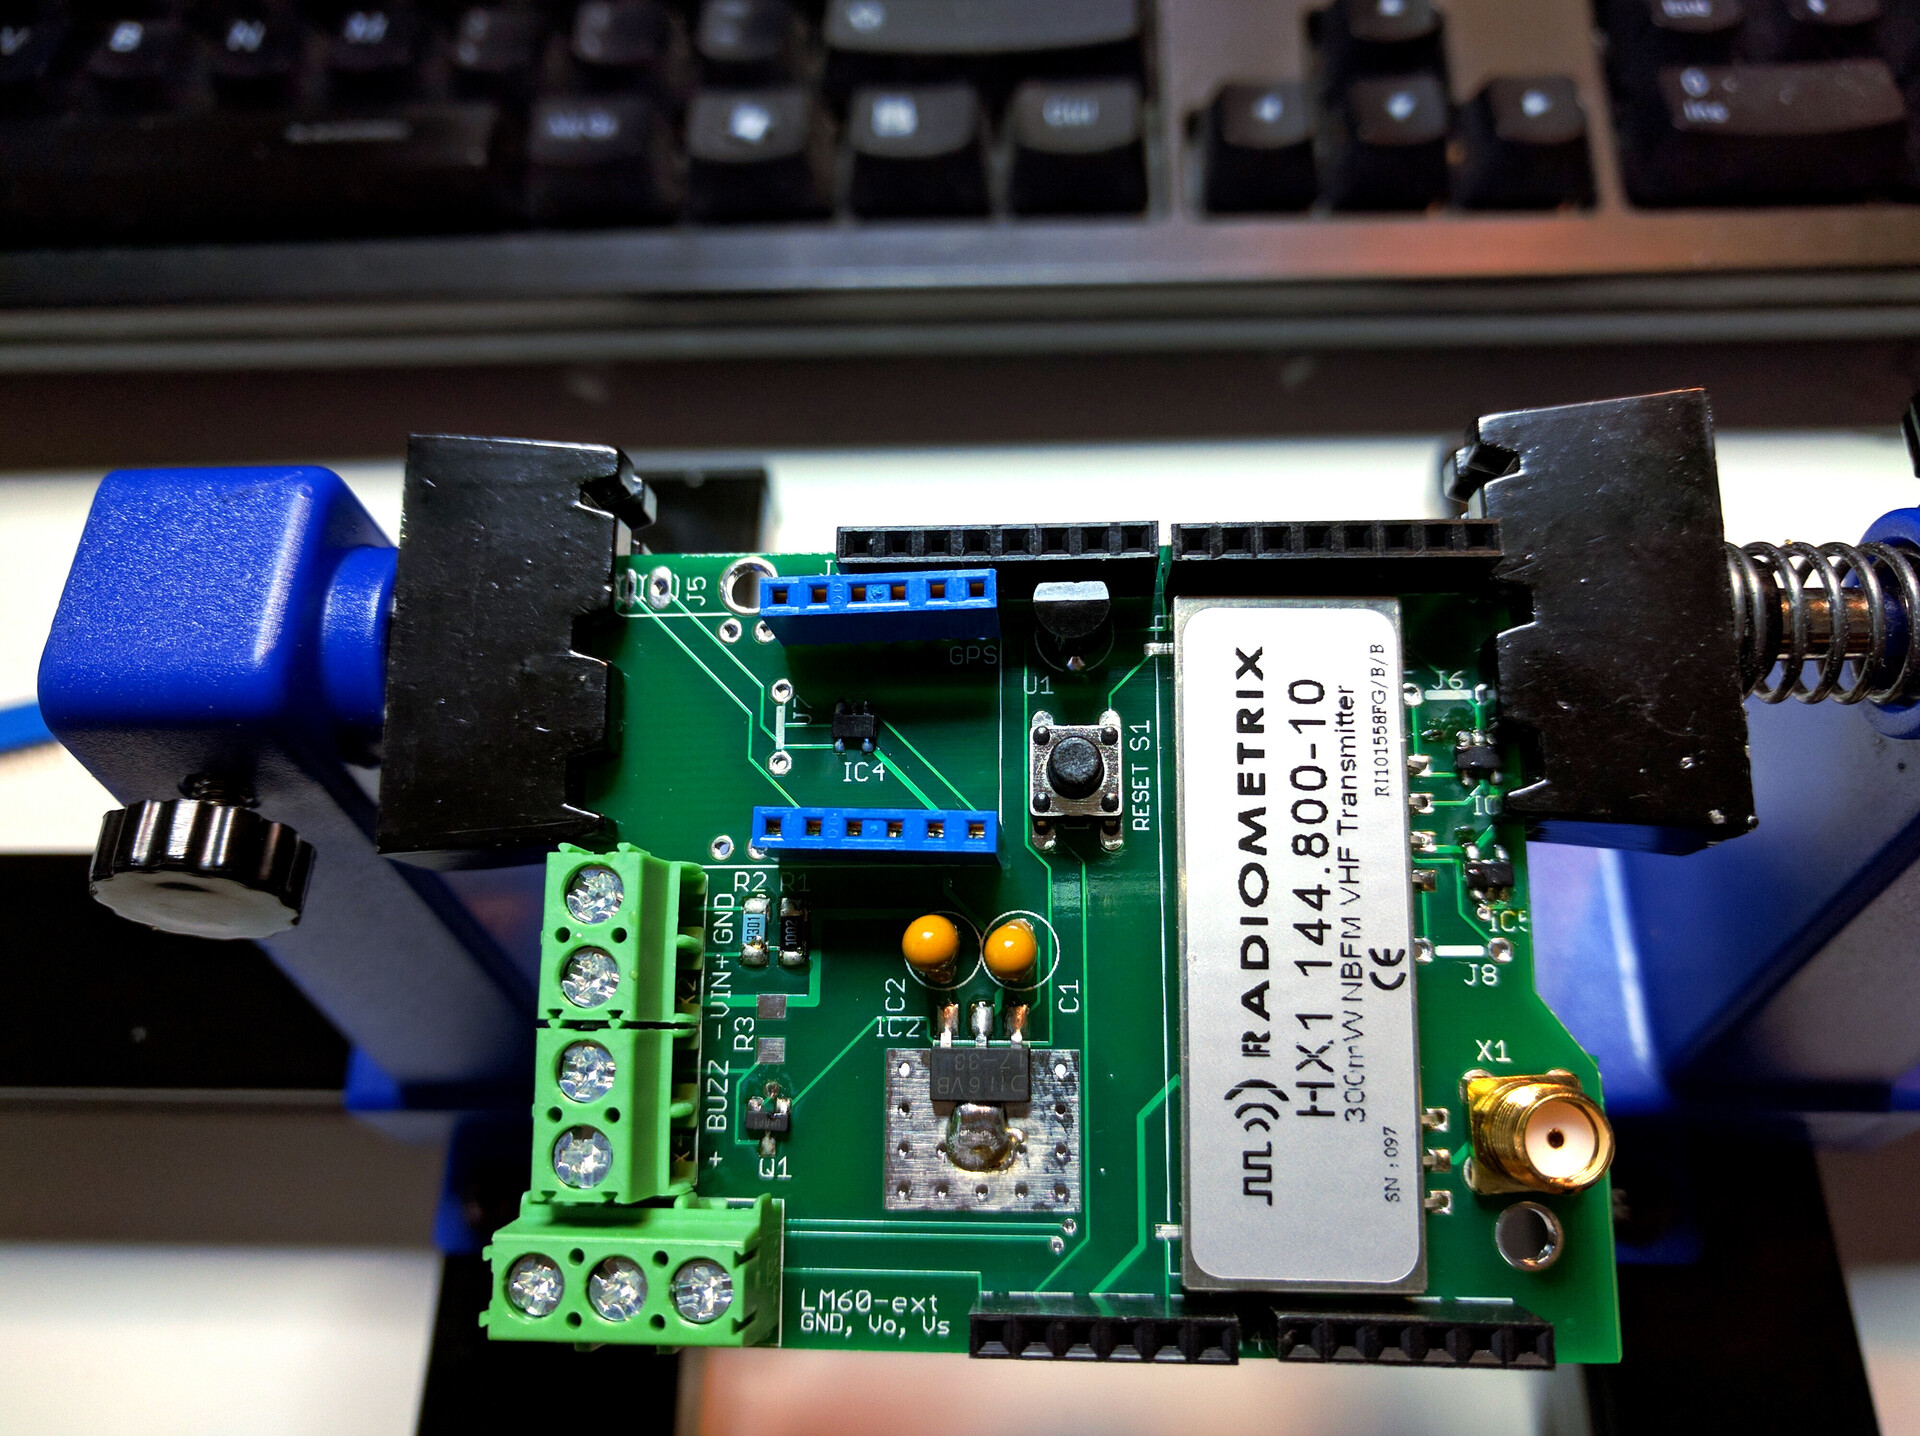
Trackuino, which is an
APRS (Automatic Packet Reporting System)
transmitter based on Arduino. Both devices were powered using rechargeable batteries and a voltage
level shifter to provide steady 5V voltage out of a USB port.
Backup tracker: Trackuino
-
Need for backup tracker
-
Have two independent trackers in the payload to make sure it will not be lost
-
Existing repeater and IGate infrastructure for APRS
-
Using APRS was the main reason for me to get an amateur radio license, since transmitting on primary APRS frequency 144.800 MHz requires HAM license and callsign
-
Trackuino
-
Tried and tested: add links to official site, GH, build instructions, etc
-
-
Trackuino battery life
-
Trackuino battery life tests
-
Batteries: 3x Panasonic Eneloop Pro 1.2V 2500mAh
-
Voltage converter: Adafruit PowerBoost 1000 Basic → ~5.2-5.3V
-
Temperature: ~-24C in freezer!
-
29 second transmit interval for APRS messages
-
Active buzzer always on
-
First message received by aprs.fi: 2017-06-01 12:46:19 EEST
-
Last message received by aprs.fi: 2017-06-01 23:13:42 EEST
-
Total running time: 10:27:23
-
TODO: Record average current consumption when idle / transmitting
-
Trackuino current draw
-
Idle, waiting for GPS fix: U:5.16V I:0.12A P:0.619W
-
Transmitting: U: 5.16V I:0.25A P:1.277W
-
-
Payload contents
Raspberry Pi LoRa tracker running ertnode
-
Raspberry Pi Model A+ with GPS receiver, LoRa transceiver and Sense HATs
-
Raspberry Pi Camera Module V2
-
A 1/4-wave ground plane antenna for 70 cm band (~434 MHz) made according to UKHAS instructions
-
Adafruit PowerBoost 1000 Basic to provide USB level voltage to Raspberry Pi
-
A short USB cable for power
-
4x Panasonic Eneloop Pro 1.2V 2500mAh rechargeable batteries in a battery holder case
Trackuino APRS tracker
-
Arduino Duemilanove with self-assembled Trackuino shield
-
A 1/4-wave ground plane antenna for 2m band (~145 MHz) made according to UKHAS instructions
-
Adafruit PowerBoost 1000 Basic to provide USB level voltage to Raspberry Pi
-
A short USB cable for power
-
3x Panasonic Eneloop Pro 1.2V 2500mAh rechargeable batteries in a battery holder case
Other
-
A GoPro Hero 5 Session video camera with an additional 3100mAh @ 5V USB battery pack
Preparing for the flight
To prepare for a successful balloon launch and recovery, accurate knowledge of the weather and winds in the upper parts of the atmosphere is essential. Based on what I’ve read about other high-altitude balloonists' experiences, the flight path prediction tools available seem to provide quite accurate results, so I started by collecting information required to make the predictions. Most prediction tools need at least the payload weight, the balloon weight and type, the desired ascent rate (or balloon neck lift) and the descent rate or parachute size/type.
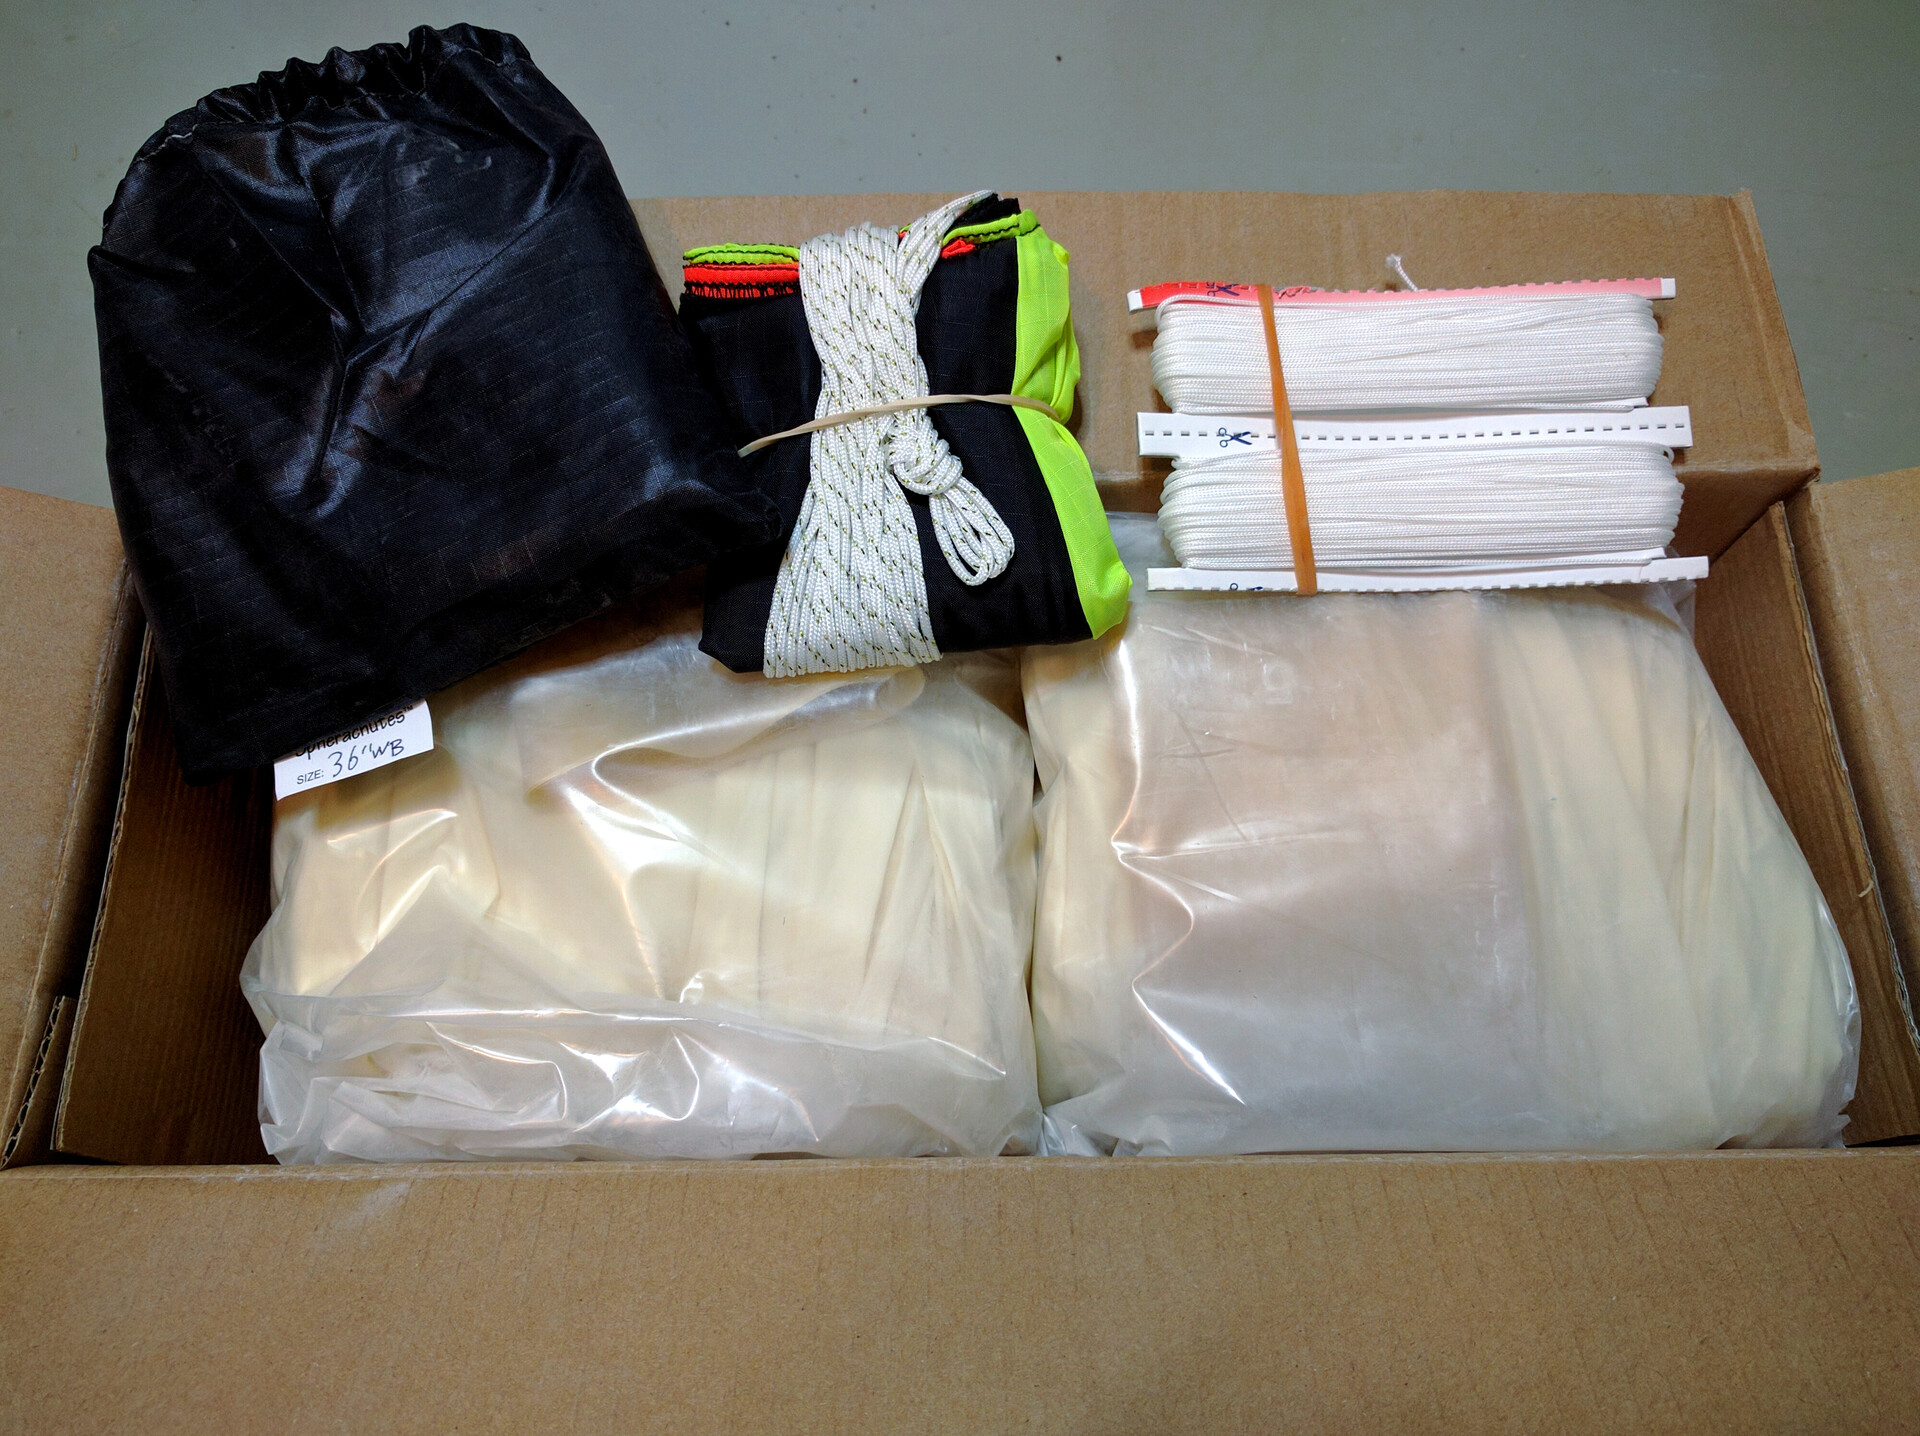
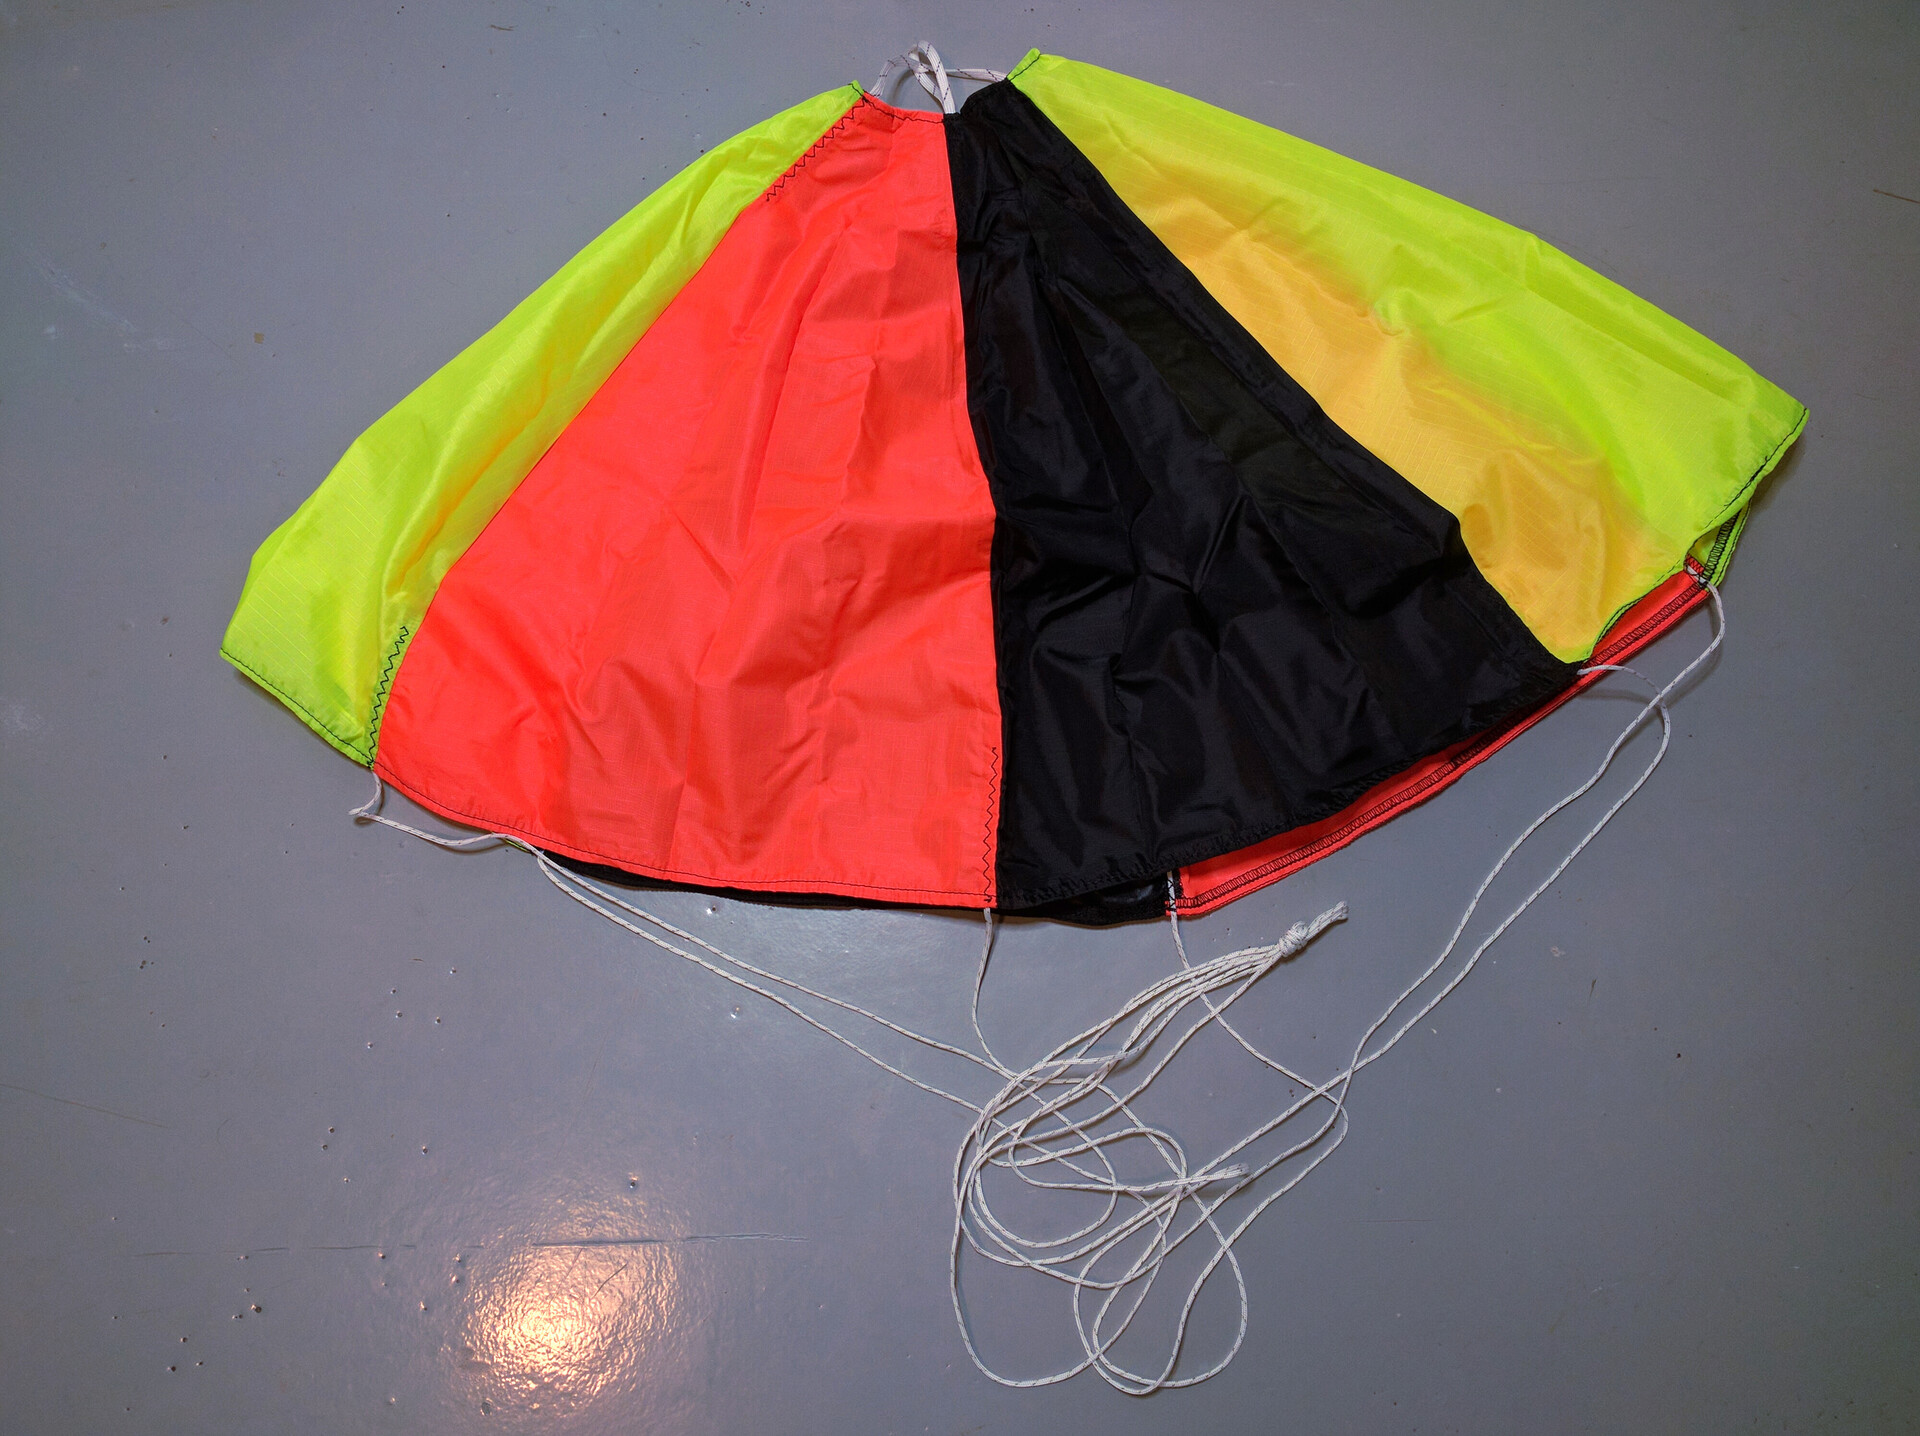
The payload weight, including the parachute and the string, was ~1100 grams. The balloon was a Hwoyee 800 gram latex balloon and the parachute a Spherachute 36-inch model, both from Random Engineering.
Calculating amount of helium required
To get an estimate of the amount of helium required for the balloon, I used habitat burst calculator, which is also available as a part of the CUSF Landing Predictor. For some reason the latter adds 0.24 m/s to the ascent rate, so the resulting ascent rate was 4.24 m/s when I specified an ascent rate of 4 m/s to reach an altitude of 30 kilometers.
The result from the burst calculator indicated a neck lift of 1855 grams, which required 2.59 m³ of helium. I ended up buying a total of 4 m³ (20 liters in 200 bars pressure) from local store Ilmapallokauppa. The biggest downside of helium is its price: for this amount of helium I paid 150 euros!
Flight path prediction
To be written…